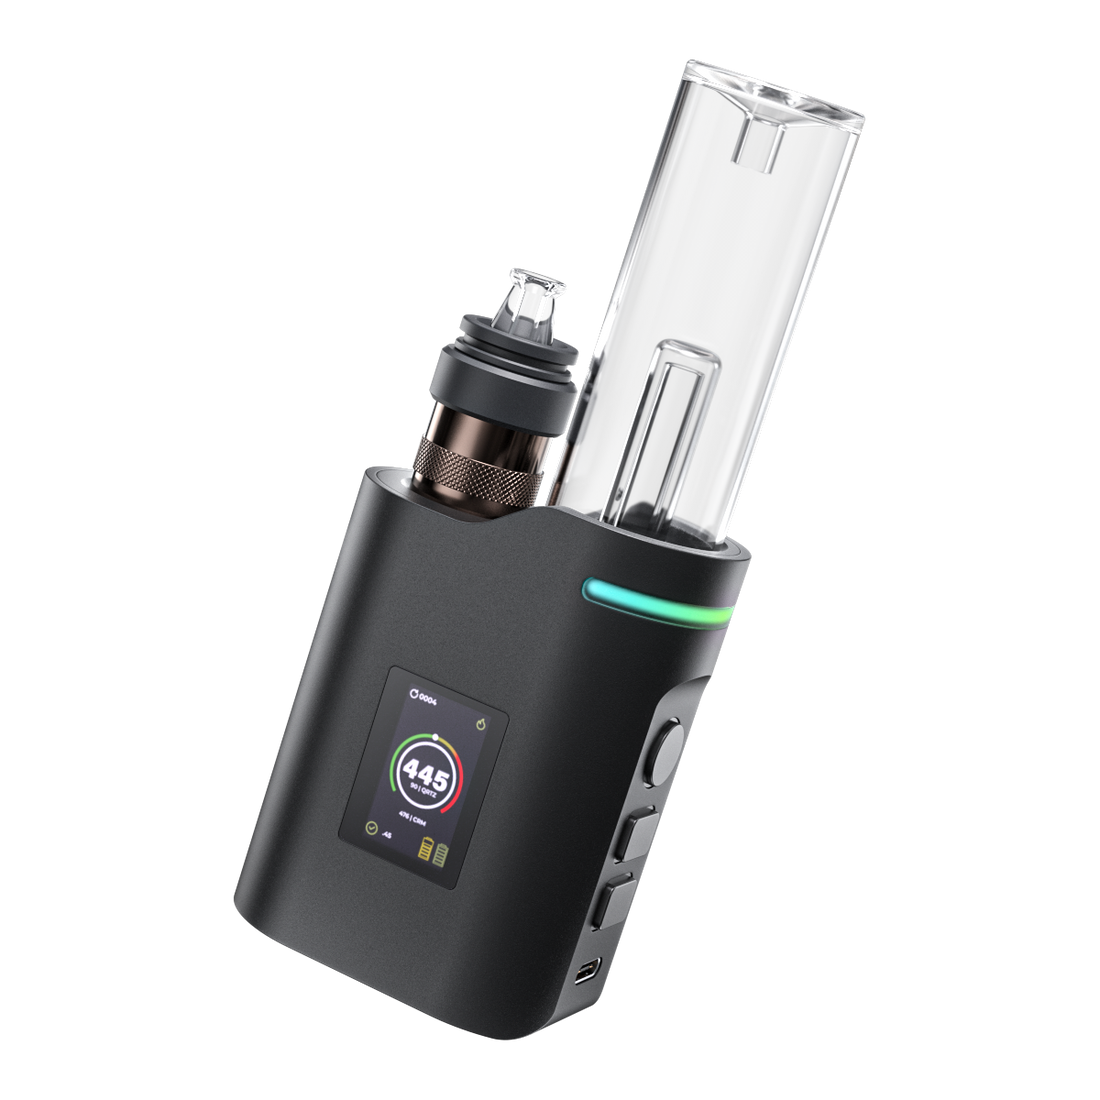
Versa Go Guide
Share
Welcome to the Versa GO User Guide!
Quick Start:
Already an experienced user? Jump right in with the Versa Quick Start Guide.
Glass & Waterline:
No need to worry about the water level, the Versa GO will only allow a certain level of water to maintain in the glass.
to fill, place the glass under the water stream, then once you see water start to pour out of the bottom of the glass quickly tilt the glass left or right to cut off the airflow.
-------------------------------------------------------------------------------------------------------
Quick Control Breakdown:
5 Clicks to turn on & off.
3 Second hold on power button to activate and deactivate heat.
Heat / Bucket Settings
power + minus (-) adjusts bucket heat settings - click power button once to confirm selection.
Ti - Titanium
CRM - Ceramic
QRTZ - Quartz
SIC - SIC
ALN - AlN
Sesh Time:
power + Plus (+) adjusts sesh time - click power button once to confirm selection.
Adjust from 30 - 60 seconds.
(You can add 30 seconds to your sesh by double clicking the power button during an active sesh)
Stealth Mode: by pressing the plus and minus button together you can enter stealth mode. which will turn off all extra light features. Pressing the same combination of buttons will reactivate your light features.
WARNING: PRESSING ALL 3 BUTTONS TOGETHER WILL RESET YOUR DAB COUNTER
-------------------------------------------------------------------------------------------------------
LED INDICATORS
When you first turn on the Versa GO you will see the LED lights flash through several colors.
During Sesh:
Red & Yellow Flashing
- This indicates your batteries are low. or there is an error to check for on the bottom left-hand side of your screen.
Blue & Green Flashing
- This indicates you are in an active heating.
Yellow Flashing
- This indicates you have less then 15 seconds left in your sesh. Giving you an option to double click the power button and add 30 more seconds to your sesh.
While Charging:
Purple:
Indicates active charging.
Blue / Green:
Indicates Full Charge
(once it is fully charged it will eventually turn off completely.)
-------------------------------------------------------------------------------------------------------
Understanding Your Screen:
From the Top Down
Top Left - Dabs / Sesh Counter
Top Right - Active Heat Icon (when blinking you are actively heating
Center:
Directly Centered You have your temperature.
The default readout is 78* (as in room temperature)
below this you have your current sesh time and your current bucket / heat settings for example: 30 | Ti
underneath this you have your last sesh information, for example:
350 | Ti
this is indicating your last used temperature and heat setting.
On the bottom left you have your atomizer health readout. a green check with a number next to it indicates a health atomizer. A red X with an error message will indicate what issue you may have.
On the Bottom Right, you have your battery Icons, this will give you a live readout of each battery level.
-------------------------------------------------------------------------------------------------------
Trouble Shooting:
Error: This is a general Error code, usually followed up by one of the following errors.
Atomizer Short: This can be caused by a loose atomizer generally. You want to thread your atomizer on until you see a readout or a green check mark on the bottom left. This can also be caused by a bad plate.
No Atomizer: This can be caused by a loose atomizer generally. You want to thread your atomizer on until you see a readout or a green check mark on the bottom left. This can also be caused by a bad plate.
Low Battery: This generally indicates you are low on battery but occasionally this can also be caused by scuffed or dirty connectors on the bottom battery door.
-------------------------------------------------------------------------------------------------------
FURTHER DETAIL:
PASS THROUGH:
The Versa GO does not allow pass through usage. This means while you are charging your Versa utilizing the USB-C port, you will be unable to activate the device.
This is done to help preserve the longevity of your batteries.
TAKE YOUR GLASS ANYWHERE:
Although some may find the Versa GO glass a bit difficult at first to load, the design has a purpose. In order to allow users to travel safely with water still in the glass we designed the Versa top to prevent spillage while on the go.
In order to fill the glass simply fill until the water starts too pour out. then rotate the glass 180 degrees to allow for the draining to stop.
If you would like to remove water, simply blow into the top of the glass to push out the unwanted water.
ALN / SIC USAGE:
When utilizing the ALN be sure change your settings to ALN to properly adjust your heat settings. We recommend starting temp of 520F giving the crucible enough heat to produce a quality dab.
for SIC we recommend starting at 475F*
